
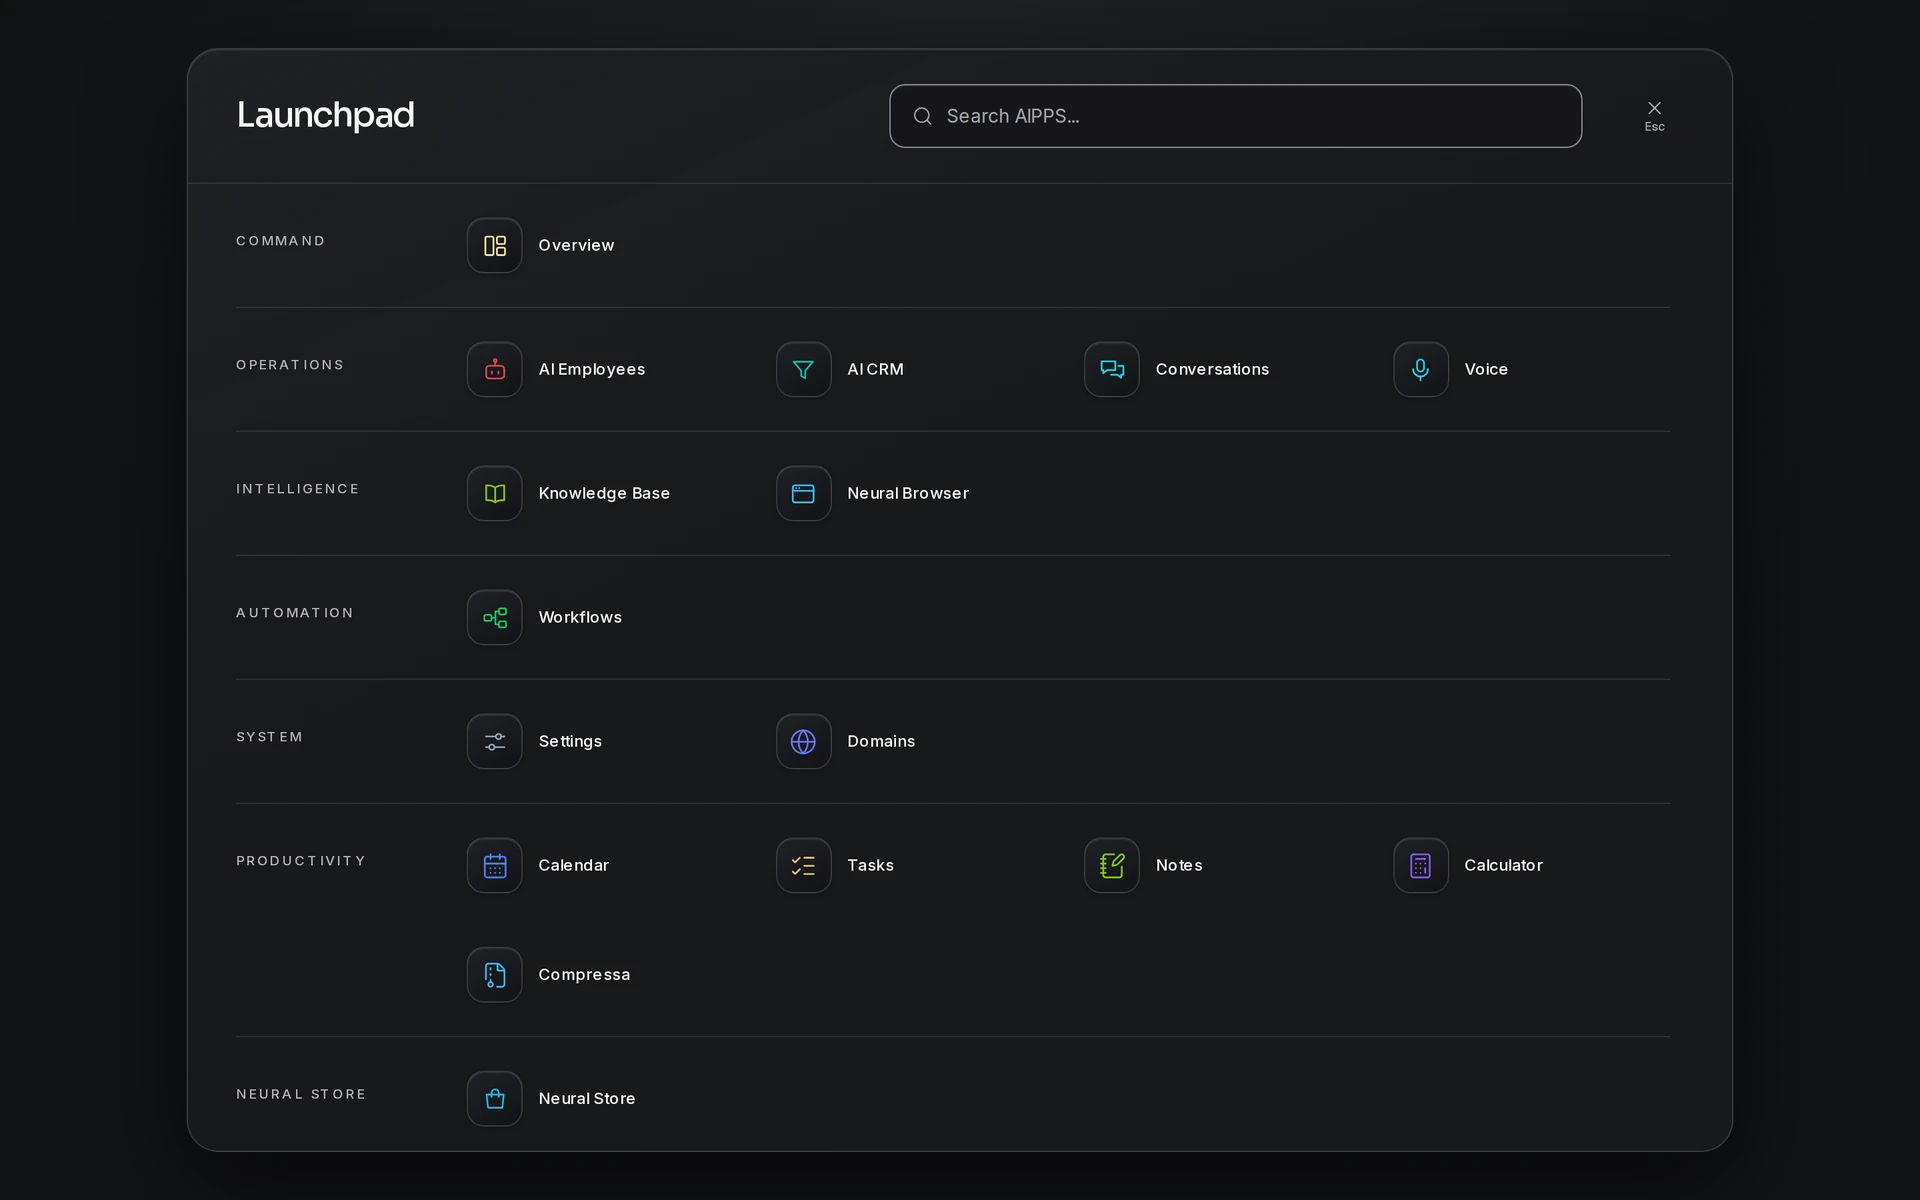
Onboarding has three required steps: choose a plan, complete its payment or trial activation, and select an industry. Once those steps are confirmed, the desktop opens. Connecting channels, adding knowledge, configuring an OmniForce and publishing a workflow are separate tasks on the desktop setup checklist; they do not block entry.
Before you begin
Create an account through Eyeleven signup and verify the email address used for it. Then sign in to the same workspace. Keep an approved payment method and the business industry you want to start with at hand. If you already have a paid or valid trial subscription, the app checks that status before asking you to pay again.
Step 1 — Choose a plan
Choose the membership level that fits the capacity you need. The plan selector shows the included OmniForces, channels, seats and trial terms for each option. Review the current amount and terms in the application before continuing; the public pricing page is a comparison, not a charge confirmation.
- Ascent may offer a trial when eligible. The application and checkout show the applicable terms before activation.
- Nexus and Hyperion continue to checkout. Confirm the total and any guarantee terms before authorizing payment.
- Omnis is handled through sales. Its onboarding path provides a contact route instead of a self-serve checkout.
Step 2 — Complete checkout
For a self-serve plan, follow the secure checkout link from onboarding. Returning from a checkout screen is not itself proof of payment. The application reads the saved subscription status and advances only when the plan has a qualifying active or trial state.
If the payment page does not complete, reopen onboarding and check the displayed status. Do not repeat a purchase just because the browser returned to the wizard. Open Billing or contact billing support if a completed payment is not reflected.
Step 3 — Select an industry
Choose the industry blueprint closest to your operation. This selection establishes a starting direction for setup; it does not automatically deploy an OmniForce, connect a channel, send a message or publish a workflow. Review the saved industry before submitting the step.
Continue from the desktop
Once the three required steps are satisfied, the app opens the Eyeleven OS desktop. The setup checklist then guides the work that depends on your business context and approvals. You can enter the workspace before completing these optional setup tasks.
- Connect a channel. Use the supported integration flow and verify the account and permissions before relying on messages. See Connect WhatsApp for that channel.
- Add approved knowledge. Review offerings, policies and facts before making them available to a Force.
- Configure and test execution. Set up the OmniForce and workflow you need, test exceptions, and check the published state before treating a workflow as live.
Common questions
- Do I need WhatsApp to enter the desktop? No. Channel connection is a later setup task.
- Does choosing an industry deploy a Force? No. It selects a starting blueprint; Force configuration is separate.
- What if my payment status looks wrong? Check Billing and contact support with the workspace name, approximate time and a non-secret receipt or error reference. Do not share card details in a support message.